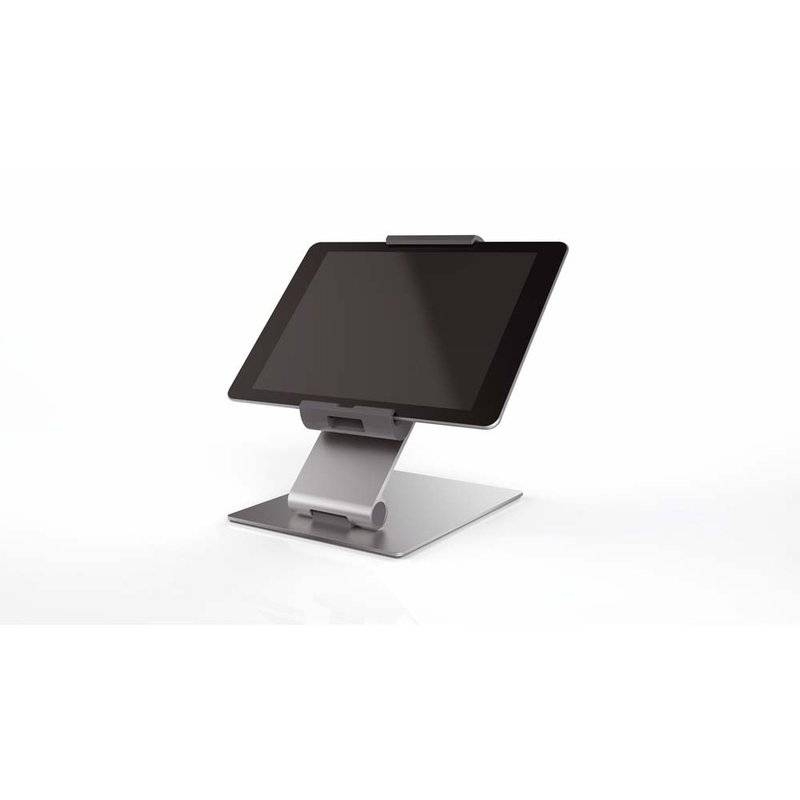
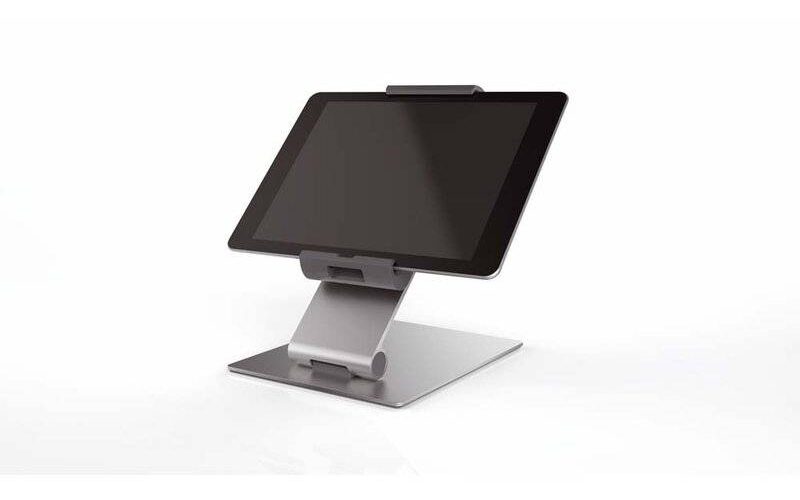
Latest Publications

Listing large files in a directory hierarchy

beastie From time to time it can be necessary to free up space on a file system. A quick way to do this is to create a list of large files in a directory hierarchy.

The following example will look for files in a directory hierarchy and list files, that has a file size of more than 50 MB. It uses “find” and “du” – and works on most Linux and Unix-like operating systems, such as Ubuntu and FreeBSD.

find /home -size +50M -exec du -h {} \;

Print

Removing black borders around movies

ffmpeg Black borders around movies and movie clips is a huge problem on the internet. Black borders is a result of video editing and bad handling of resolutions and aspect ratios, such as 16:9 and 4:3.

Removing black borders can be done with a video editor, such as FFmpeg, which is a complete, cross-platform solution to record, convert and stream audio and video.

In our example, the size of each black border is guessed and the borders are removed from our input example of 720×576 pixels and resized to 320×288 pixels by FFmpeg.

ffmpeg -i example-input.mpg -croptop 76 -cropright 96 -cropbottom 76 -cropleft 96 -s 360x288 example-output.mpg

Do you need help with video editing? Contact Open Tech SmbA by mail at opentech@opentech.dk or call Open Tech SmbA at +45 43 62 22 88.

Print

System Administrator Appreciation Day

System Administrator checking WOPR at NORAD Friday 30 of July is the 11th System Administrator Appreciation Day.

A system administrator is a person, that is employed to maintain and operate a computer network system. The duties include installing, supporting and maintaining computer, client and server systems. The duties include planning for, and responding to, service outages and other problems. The duties include scripting and light programming, project management, supervising and training of computer operators. In order to do well, a system administrator must show a blend of technical skills and responsibility.

A system administrator may be a member of an information technology (IT) department, Unix user group (UUG) and Linux user group (LUG).

This means, that if you are able to read this, then thank your system administrator, who made sure, that your computer is working, that your computer can connect safely to the internet, that you can communicate across the world in seconds, that your files are backed up in case of human or technical disaster, that your printer work, that your server and services respond 24 hours a day, 365 days a year.

However, often we do not know our system administrator as well as our system administrator knows us. Therefore, the annual System Administrator Appreciation Day is the day, that we can show our appreciation in words, cakes, mugs or other token gifts.

The annual System Administrator Appreciation Day is last Friday of July.

Print

Configuring the command line interpreter prompt

bash-org The GNU Bourne-Again SHell (bash) is the command line interpreter, that executes commands from the standard input, such as keyboard, or from a file, such as a automated script. It is used in many operating systems, such as Ubuntu.

In the following example, the default command line prompt for a user on an Ubuntu operating system is configured for local usage and remote usage. The same procedure can be used for FreeBSD and similar operating systems.

nano -w ~/.bashrc
PS1='$ '; export PS1
nano -w ~/.profile
PS1='$ '; export PS1

There are also system wide configuration files for bash, sh and other shells on the Ubuntu operating system. However, configuring the default command line prompt for users and administrator does not seem to be taken into effect on the Ubuntu operating system.

/etc/profile
/etc/bash.bashrc

The system wide profile for shells should source in the bash system wide initialization file and configure the command line prompt for users and administrator (user 0).

Print

Installing a network color laser printer in Ubuntu 10.04

laserprinter Installing a network printer means, that the Ubuntu desktop computer will be able to sent print jobs to a remote printer over the network.

In this example, we will install a Brother HL 4050 CDN network laser printer in the Ubuntu 10.04 operating system.

We visit the homepage for Official Ubuntu Documentation. We click Ubuntu 10.04 LTS. We click Printing and Faxing. We click Printing. We find the section for network printing. Here, we find the procedure for installing a network printer.

We open System, Administration and Printing. We click New and expand Network Printer. We follow the guide, go through the settings and print a test page. It works.

We also test printing from the browser and one of the office tools. It works.

Print

Restoring data from a non bootable corrupt Windows file system

backtrack In this example, we want to restore client data from a non bootable corrupt Windows file system on a working harddisk. The client want the restored data on compact disc (CD) media.

This procedure can be used with other operating systems and file systems as well.

We attach the harddisk to a computer, that support the harddisk interface, and boot the computer with a Back Track Live CD.

Back Track is a Linux operating system, that can boot from CD. Back Tracks mounts file systems automatically. Back Track comes with a huge amount of tools, ready to use.

We can now access the client data.

ls /mnt/hda1

In order to write the client data to CD, we need to transfer the files to a FreeBSD network file system from which, an Ubuntu computer, that has a CD writer, can access the files. We use secure copy (scp) to transfer the files.

scp -r /mnt/hda1 starnix@starnix:temporary

In order to preserve file names and support multiple CD’s, we archive and split the data using zip.

cd temporary
zip -s 670m -r disk hda1
ls -ld disk.z*

The result is a number of zip archives, that has been split into the necessary number of archives in order to fit each CD media. We can now write the data to CD’s. We do this by inserting an empty CD media into the Ubuntu computer. Brasero disc writer offers to write our data to the CD. We drag the first archive and writes the data to disc. Note, that the first split archive is the z01 and the last is the zip.

The client can now copy the archives from the CD’s, unzip the archives and restore the files as necessary.

Print

Deleting files without using the trash bin on an Ubuntu operating system

ubuntu-logo The trash bin on an Ubuntu operating system, and many other operating systems as well, is a desktop feature, that some users will find usefull upon accidental deletion of files. However, the trash bin uses a number of hidden directories in order to work. These makes a mess and takes up space on file systems. These hidden directories can also be a security problem because they can contain private files.

The solution is to enable the desktop delete feature.

Press Alt and F2. Run gconf-editor. Open apps, nautilus and preferences. Find enable_delete and set it. Close the dialogue. That’s it. We can now right click a file and delete it.

Note, that secure remove (srm) should be used to delete private files.

The delete function in most operating systems simply marks the space occupied by the file as reusable (removes the pointer to the file) without immediately removing any of its contents. At this point the file can be fairly easily recovered by numerous recovery applications. However, once the space is overwritten with other data, there is no known way to recover it.

srm is a secure file removal utility for Unix and Unix-like computer systems, such as Mac OS X or Linux respectively. It is a command line utility which exercises the Gutmann 35-pass algorithm for secure file deletion.

Print

Changing password on the Ubuntu operating system

ubuntu-logo Changing password on a Unix or Linux operating system is normally straight forward. However, changing password on an Ubuntu operating system can be a problem.

Let us test this. In our example, we want to have the password for a non privileged user changed.

We boot up an Ubuntu 9.10 operating system. We log on as a non privileged user. We click System and then click “Users and Groups”. We click our user account. We click “Change password”. We type in our current password and authenticate. We type in our new password. We retype the new password. We click “Change password”. The dialogue confirm, that our password has been changed. This seems good! We click Close. However, now a dialogue appear. It want us to authenticate again. We type in our new password. This fails. We end up with an error message, that say “The configuration could not be saved. An unknown error occured”. We log out and must try a different approach.

It seems, that changing password is an untested feature in Ubuntu.

We log on as a privileged user. Click System. Click “Users and Groups”. We click the keys to make changes and enter our password. We click the user. We click Properties. We enter the new password. We take a look at his privileges. Close. Now, we are back at the “Users and Groups” dialogue. We close that as well. We log out and log on as the non privileged user.

It worked. It seems, that only privileged users can change password for non privileged users.

Print

Splitting and merging PDF documents

pdfsam In this digital age, scanning of documents is an important part of the document handling proces. However, not all document scanners are user friendly – and fail to scan a number of paper documents into a single multipaged Portable Document Format (PDF). Instead, users end up with a number of PDFs. Some might even be multipaged PDFs, that contains one or more pages of garbage. The solution is to split the PDFs and merge them into a single multipaged PDF.

There are a number of online tools, that can do that. However, it can be a security problem to use these as PDFs will have to be transmitted over the internet in unencrypted format. There are also a number of downloadable applications. We recommend PDFsam.

In our test of PDFsam on the Ubuntu 9.10 operating system, we want to split a multipaged PDF into single PDFs and then merge a number of single PDFs into a single PDF.

We install PDFsam from Ubuntu Software Center. When installed, we launch it by clicking Applications, Office and pdfsam.

We open the Split plugin, add our multipaged PDF, choose Burst, choose same destination as source and then run the plugin. The splitted PDFs are written as expected. We open the Merge plugin, add our PDFs, move the pages up or down as necessary, set our destination file and run the plugin. The new multipaged PDF is written as expected.

Print

Automatic rotation, renaming and resizing of pictures

imagemagick Sometimes you need to share a number of raw pictures over the internet.

Raw pictures can have non-efficient file names from the digital camera. This makes them hard to organize and list. Raw pictures can be huge in file size. This is a problem for storage, backup, transfer, upload and download. Raw pictures can contain hidden data from your camera, camera software and picture editing software. The hidden data can include automatic data, such as timestamps, face identification and software details. That can be a security problem.

Therefore, you might want to prepare raw pictures for sharing over the internet.

In the following example, we will prepare a number of raw pictures from a digital camera for sharing over the internet.

The pictures are rotated according to their orientation data in Exchangeable Image File Format (EXIF). The orientation data in EXIF is then reset. The pictures are renamed according to the timestamp in EXIF. The pictures will have their EXIF header removed for security reasons. All this is done using jhead, which a JPEG EXIF header manipulation tool, that is perfect for this task.

jhead -autorot -ft -nf%Y-%m-%d-%H-%M-%S -purejpg *.JPG

If the picture is horizontal, the picture is resized to a maximum width of 1000 pixels. If the picture is vertical, the picture is resized to a maximum height of 1000 pixels. The aspect ratio remains the same. This is done using mogrify, which is perfect command line processing tool for this task. mogrify is a part of ImageMagick. Note, that Facebook has a maximum of about 604 pixels.

mogrify -resize 1000x1000 *.jpg

We can now share our pictures over the internet.

If needed, we can apply grey scaling and then a blue tint. This effect will make all pictures appear blue.

mogrify -modulate 100,0,100 -fill 'blue' -tint 25 *.jpg

If needed, we can add text, such as a title or copyright notice. We set the font to our TrueType font, the font size to 16, the place to bottom, the font color shade to black and the font color to pink.

mogrify -font /usr/share/fonts/truetype/opentech/excelates.ttf -pointsize 16 -draw "gravity south fill black text 2,12 'Open Tech SmbA' fill pink text 0,14 'Open Tech SmbA'" *.jpg

If needed, we can add a watermark. We set the font to our TrueType font, the font size to 36, the place to bottom, the font outline color to white, the transparency to 10%, the font color to black and the transparency to 10%.

mogrify -font /usr/share/fonts/truetype/opentech/excelates.ttf -pointsize 36 -draw "gravity south stroke rgba(255,255,255,0.1) fill rgba(0,0,0,0.1) text 0,0 'www.opentech.dk'" *.jpg

Open Tech SmbA can help your company automate picture and image processing. Contact Open Tech SmbA by mail at opentech@opentech.dk or call Open Tech SmbA at +45 43 62 22 88.

Print