

HP-printerpatroner er afgørende for udskrifter af høj kvalitet, men forkert opbevaring kan reducere deres effektivitet og levetid. For at sikre, at dine patroner forbliver i
I de senere år har Norden været vidne til en bemærkelsesværdig stigning i aktiviteter inden for cyberkriminalitet, hvilket udgør hidtil usete udfordringer for enkeltpersoner, virksomheder
I en verden, hvor teknologisk innovation sker i et hidtil uset tempo, har 3d printservice etableret sig som en banebrydende kraft inden for både business
Når vi rejser, er det næsten en selvfølgelig tradition at bringe noget hjem, der kan minde os om de nye oplevelser og indtryk. Souvenirs kan
I nutidens hurtige verden kan det være en skræmmende opgave at holde hjemmet rent og pænt. I denne artikel vil vi udforske de mange fordele,
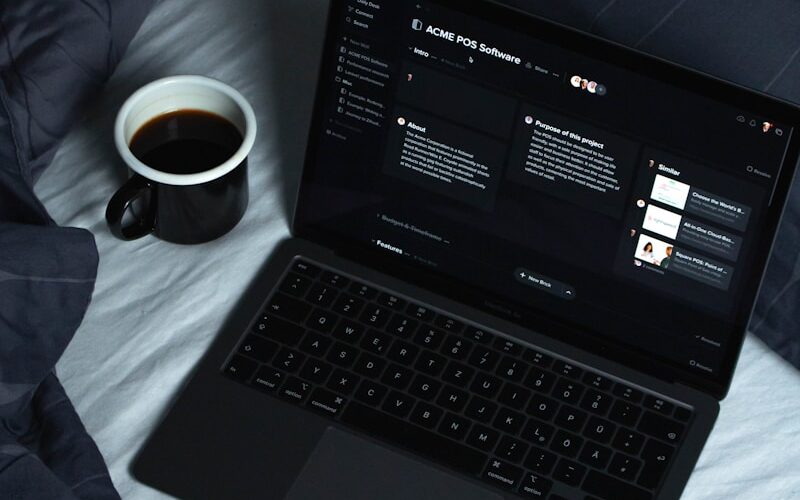
Introduktion At lave sin egen hjemmeside er blevet enklere end nogensinde. Med en række brugervenlige værktøjer og platforme kan selv den mest uerfarne bruger oprette
I en verden, hvor teknologien konstant udvikler sig, har Apple introduceret os for AirPods – trådløse øretelefoner, der har ændret måden, vi lytter til musik
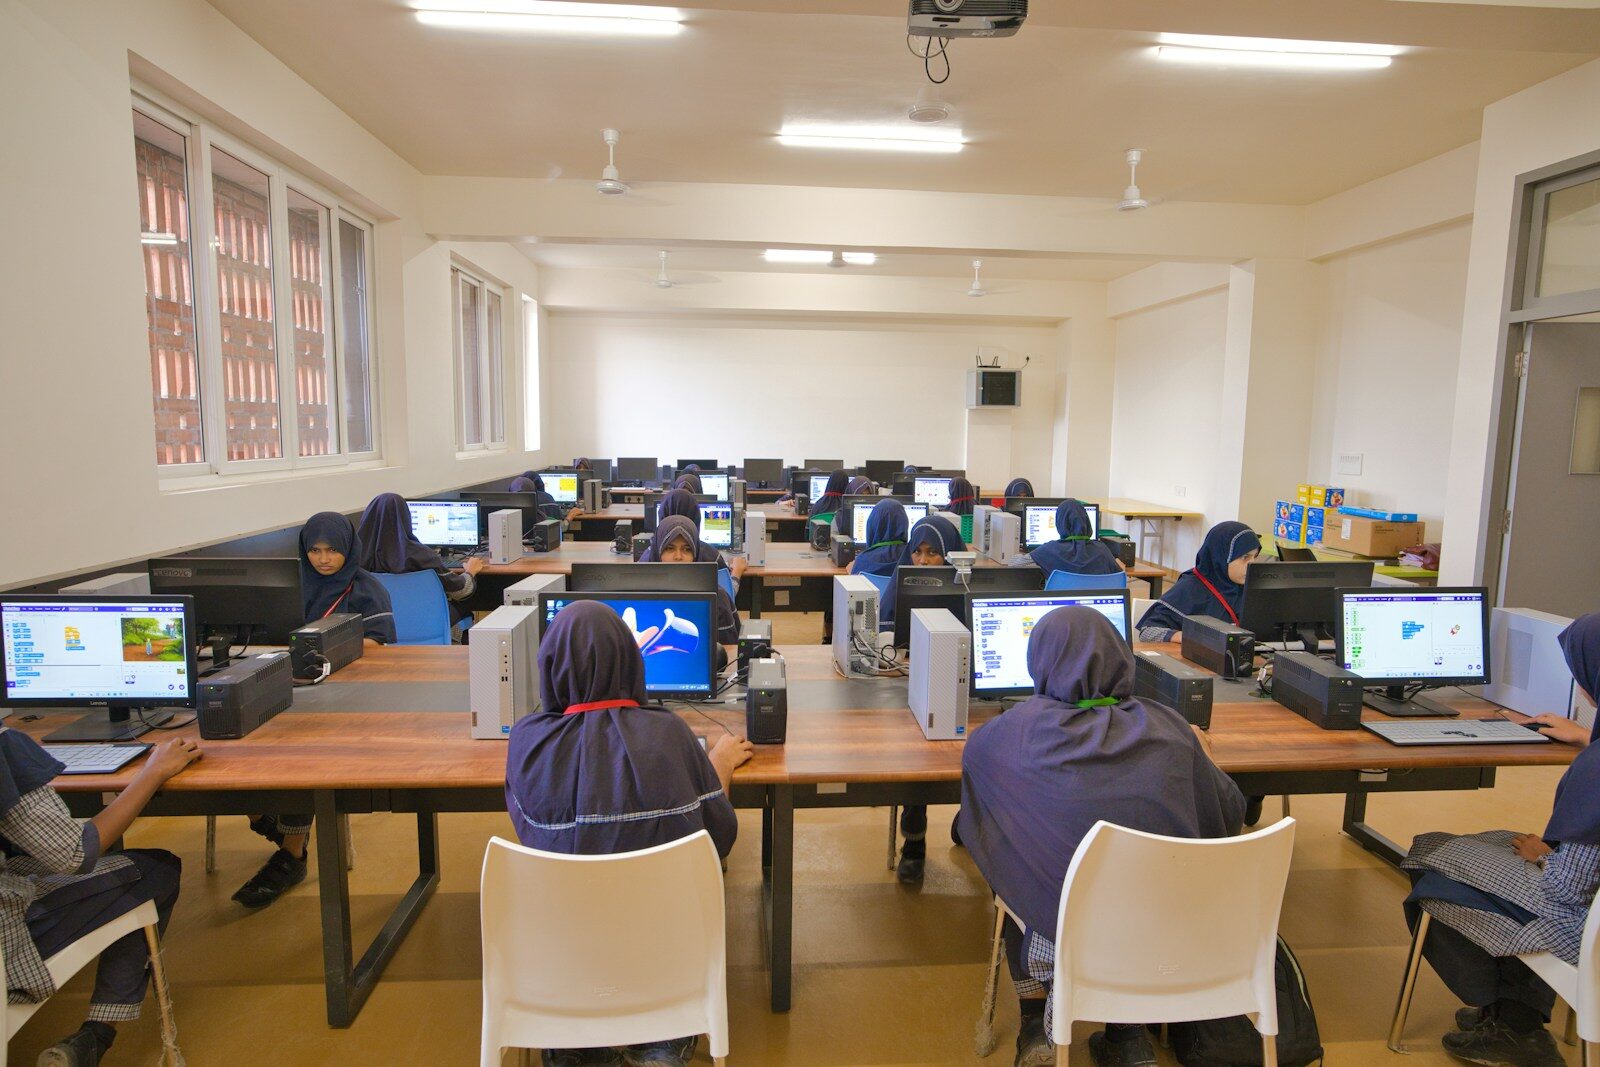
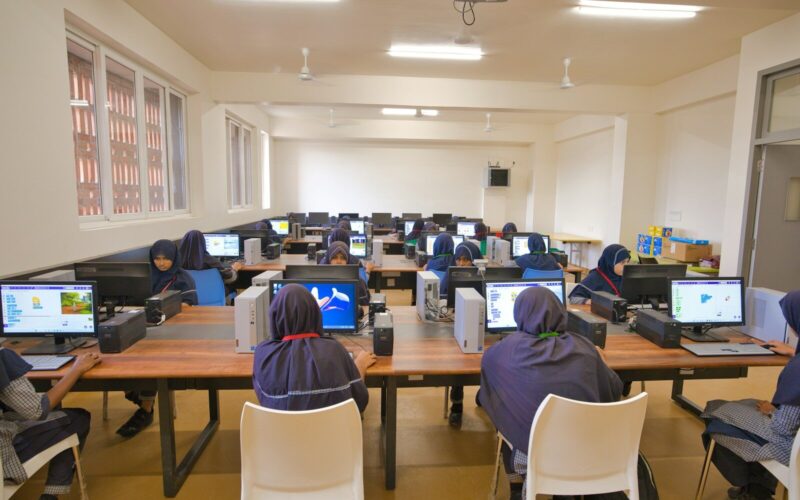
Valget af den rigtige computer er afgørende for at opfylde dine behov. Uanset om du bruger computeren til arbejde, skole eller underholdning, er det vigtigt
At administrere løn kan være en tidskrævende og kompleks opgave, især hvis det ikke er ens primære arbejdsområde. Det kan være svært at holde styr
Er du træt af at betale for meget for dit internetabonnement? Vil du vide, hvordan du kan få mest muligt ud af dine penge, når