

Seks ud af ti danskere oplever høje elregninger, og fordi vi bor i et land, der er dækket af skove, bliver der brugt rigtig meget
En kantine er et madområde i en skole, en fabrik eller et kontor, hvor folk kan købe snacks og drikkevarer. At drive en kantine kan
Der er et par måder at finde de bedste all-in-one services til events til arrangementer på. Den ene måde er at søge i online-kataloger, der indeholder
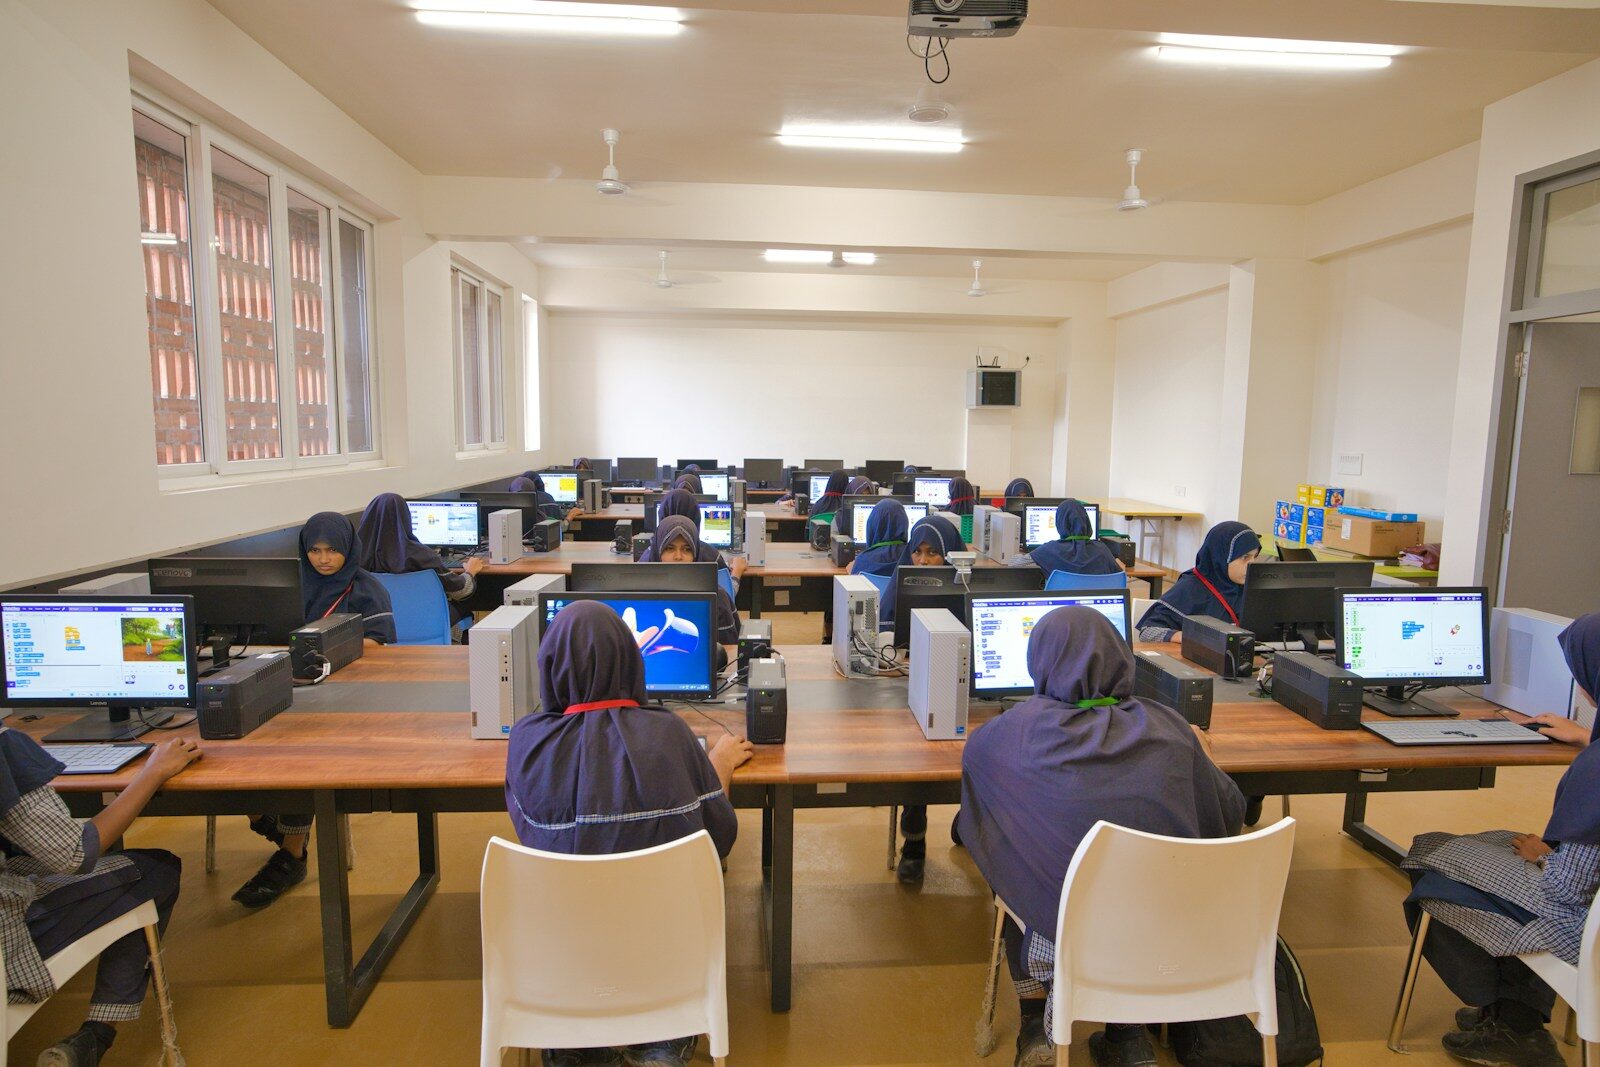
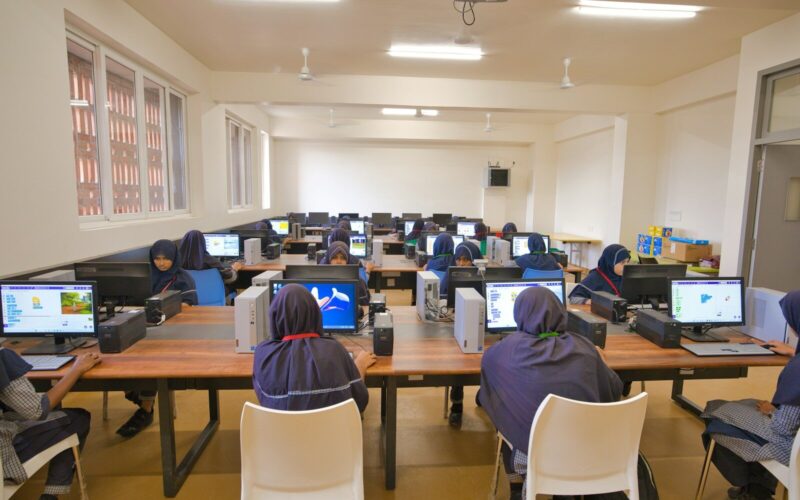
Det er vigtigt at holde øje med aktierne I går var jeg ude hos min ven, Uffe. Han arbejder med IT, og han er rigtig
I dag er der mere end nogensinde før et stærkt fokus på lederudvikling. Dette skyldes til dels, at virksomhederne har indset vigtigheden af at have
Tidligere var kopimaskiner ofte et af de mest oversete optimeringspunkter, når virksomheder havde brug for at strømline deres arbejdsgange. I dag er kopimaskiner imidlertid blevet
Hvis du driver en digital virksomhed, er det helt afgørende, at du har en god brugeroplevelse på dit websted. Hvis dit websted er svært at
I Mit.dk kan du se al din digitale post, når og hvor det passer dig. Du skal blot logge ind på Mit.dk på din mobil
Afhængighed er svært at komme ud af, og kan ramme alle slags mennesker i forskelligt samfundslag, derfor kan alle slags arbejdspladser have misbruger. og det
Fra kælderen til livet i skyen Business Central (tidligere Microsoft Dynamics NAV) er blevet en super ERP-basisplatform, og samtidig et eksempel på software der er