

For at skabe tryghed i virksomheden er det vigtigt med den rigtige sikkerhed. Dette er både for at passe på medarbejderne og kunder, men også
Som webshop ejer er det vigtigt at produkterne er pakket godt ind, så de når kunderne uden skader. Læs med her og find den perfekte
www.afventer.dk er hjemmesiden, du skal besøge, hvis du ønsker gode og velskrevne artikler indenfor emner, der vedrører business og informationsteknologi. Her leveres løbende artikler, der
Der findes utroligt mange virksomheder landet over, og nogle byer er direkte kendte for at have virksomheder beliggende i netop den by. Der findes dog
Corona epidemien har ramt Danmark hårdt, ja faktisk har den mere eller mindre ramt hele verden hårdt. Derfor er der også utrolig mange ting, der
Er du selvstændig? og drømmer du om at opføre et nyt hus til enten din familie eller firma? så læs med her, og få en
Mange virksomheder, som er lokale forretninger har problemer med at vækste deres forretning. Når vi snakker at vækste en forretning, så snakker vi både omsætning
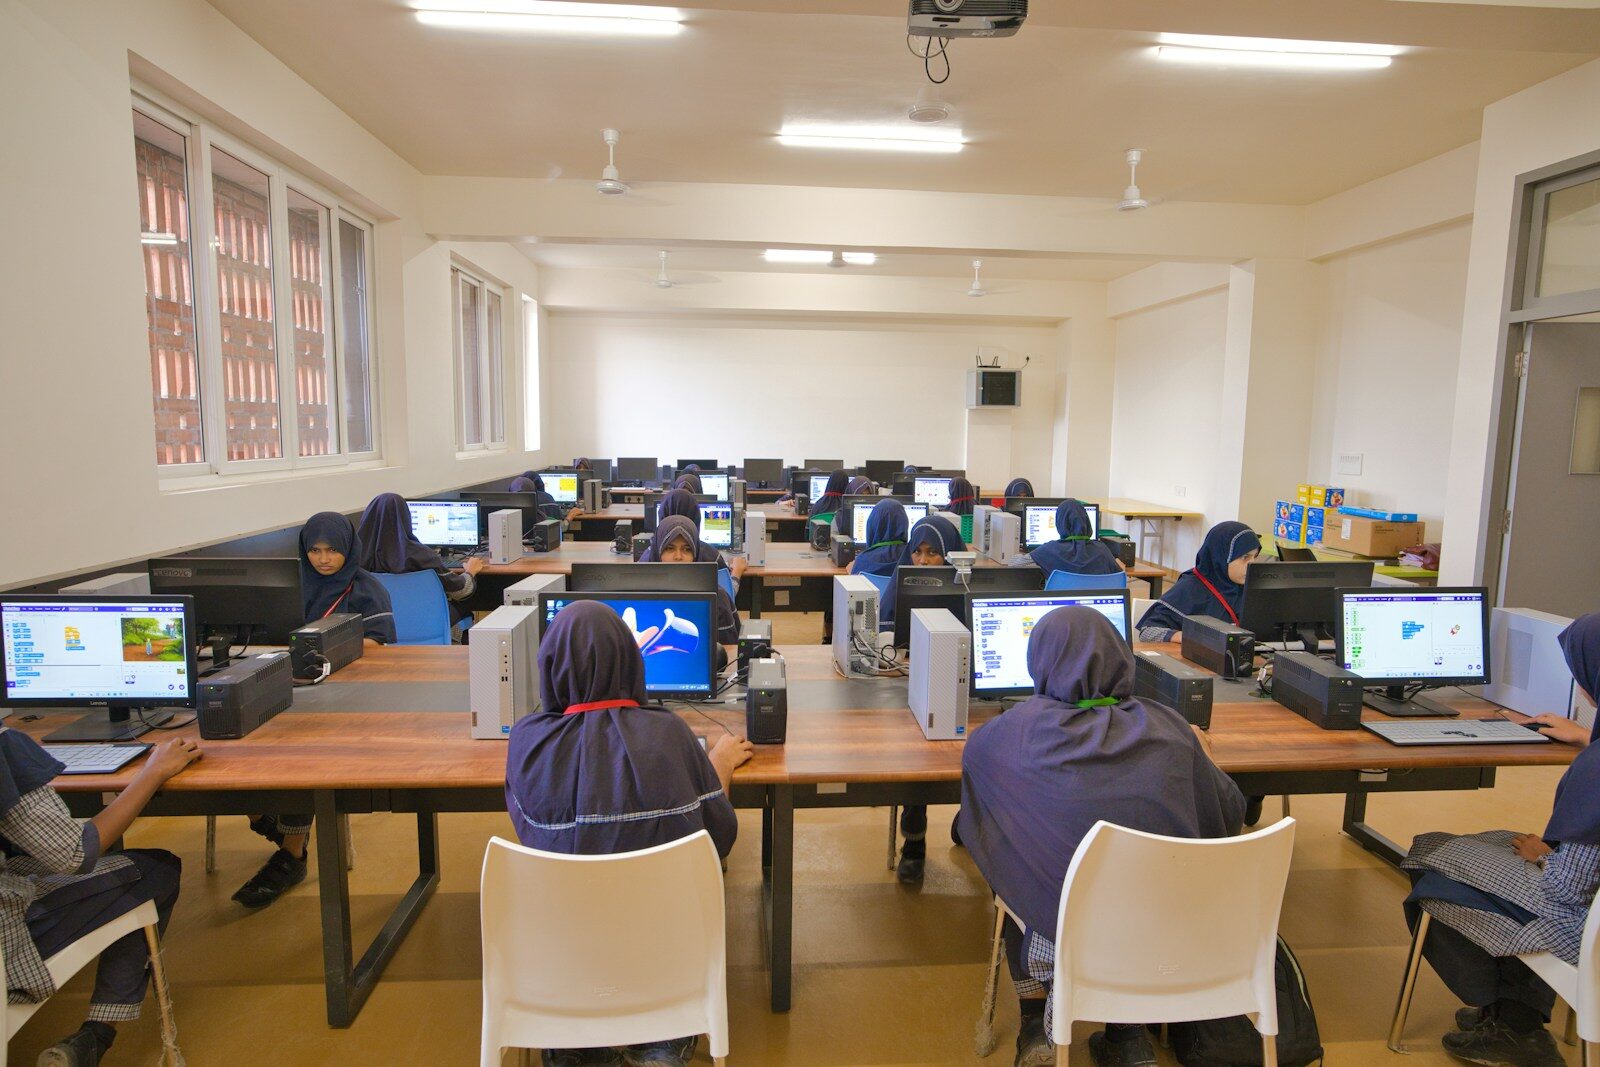
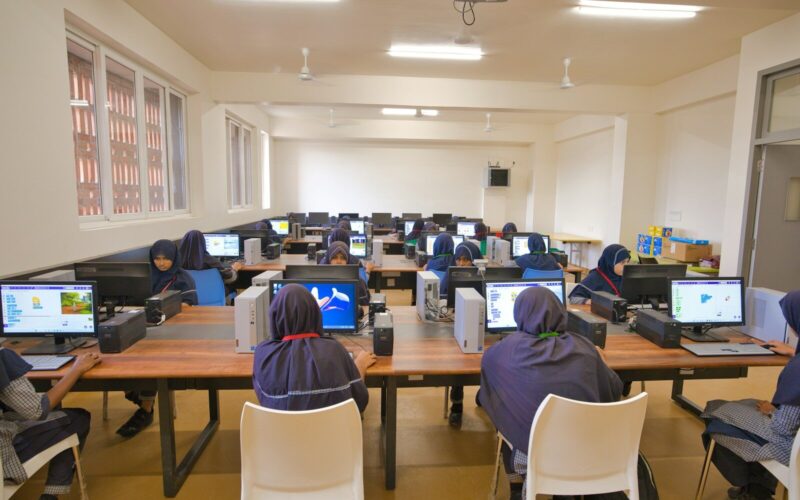
Da digitaliseringen fylder så stor en del af hverdagen, har mange en drøm om at starte sin egen virksomhed. Hvis du går og drømmer om
Som mange ved, er markedet for Oplader til iPhone blevet ekstremt stort, og flere og flere konkurrenter er kommet til. Apple har udviklet på iPhones
Er det også ved at være trængt på arbejdspladsen hos jer? Så kan det være, det er ved at være på tide med en udvidelse.